On the 1st of March it was Purple Cake Day. I had never heard about this until I was in Nelson for a wedding a couple of weeks back and saw posters and displays advertising it everywhere! It is pretty much a day about celebrating children and rising funds for children in need around the world. This year they focused on the children of Haiti and also Christchurch post quake. Read more about it
here.I decided to make a cake I've alway wanted to make: Red Velvet Cake. But with a twist, a purple twist.
Recipe-
CAKE:
2&1/2C Flour
1/2C Cocoa
1t Baking Powder
1t Baking Soda
225gr Butter - room temp/softened
2C Castor Sugar
5 Large Eggs
1C Buttermilk (If you don't have this, use one T of Lemon Juice or White Vinger and fill the milk up to 1C. Leave for 5mins to curdle)
1t Vanilla
Red & Blue food colouring
ICING:
100g Butter
4C Icing Sugar
1/4C Milk
1T Vanilla
Sift dry ingredients together 2/3 times.

Cream butter for 2 mins. Then add the sugar in 3 separate lots. Creaming for 2 mins after each.

Add eggs one at a time, beating for 1min after each.
Add 1/4 of the dry ingr to the butter mixture, mixing well. Then add 1/4 of the buttermilk and mix well. Repeat this process.

Now add vanilla and as much colour as needed to make mixture turn purple. (If doing red velvet, leave out the blue!)
Mix well.

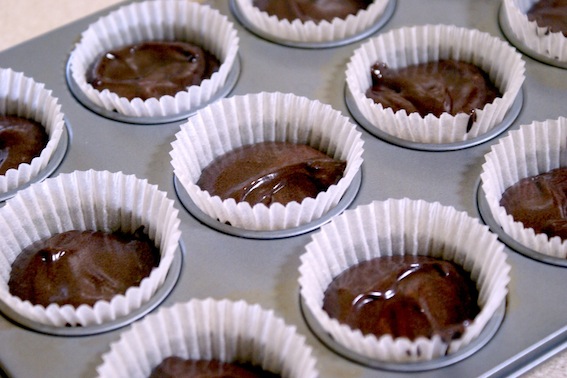
Pour into cases

and cook for 20 minutes on 180c

Cool them for 10mins+ before icing.

Make the butter cream icing by creaming butter for 2mins and then slowly adding other ingr, mixing well.

Now I will show you a simple icing-bag-free way to ice the cupcakes. (My icing bags are still in my flat in the cordon)

Put a large dollop of icing in the middle of the cake

Flatten it down to the edge of the cake with a knife

Next, starting from the outside of the cake, slowly, with the tip of the knife, push the icing back towards the middle as you spin the cake. (I find it easier to spin the cake if it's sitting on the bench). Spiral in towards the middle.

It may take a few tries practice, but you should get it in the end!
Then decorate the cupcake straightaway, before the icing starts to dry.

I decorated with pearl dust and purple nerds!

With a little luck, the cake should be purple-ish on the inside...

And there you have it!
I hope you enjoy and I hope you are all safe after the earthquake. Take care, and look out for more posts up soon. I've been making something new everyday during the post-quake blues, since I can't go to my flat or Uni!
x